Example Knob and Tube Projects in Everett

Each example starts with what the electrician finds in one older house and ends with the finished wiring, with the time it takes and a rough cost. Nearly 1 in 5 Everett homes were built before 1940, so most examples are houses that old. Two are 1950s houses, which usually have cloth-covered cable rather than knob-and-tube.

We made these examples up, and none of them describes a real customer, address or past job. We put each one together from the age of houses around here, the order an electrician works in and what that work costs now, to help you plan before asking for a quote.

Attic wiring check before blown-in insulation

Example project
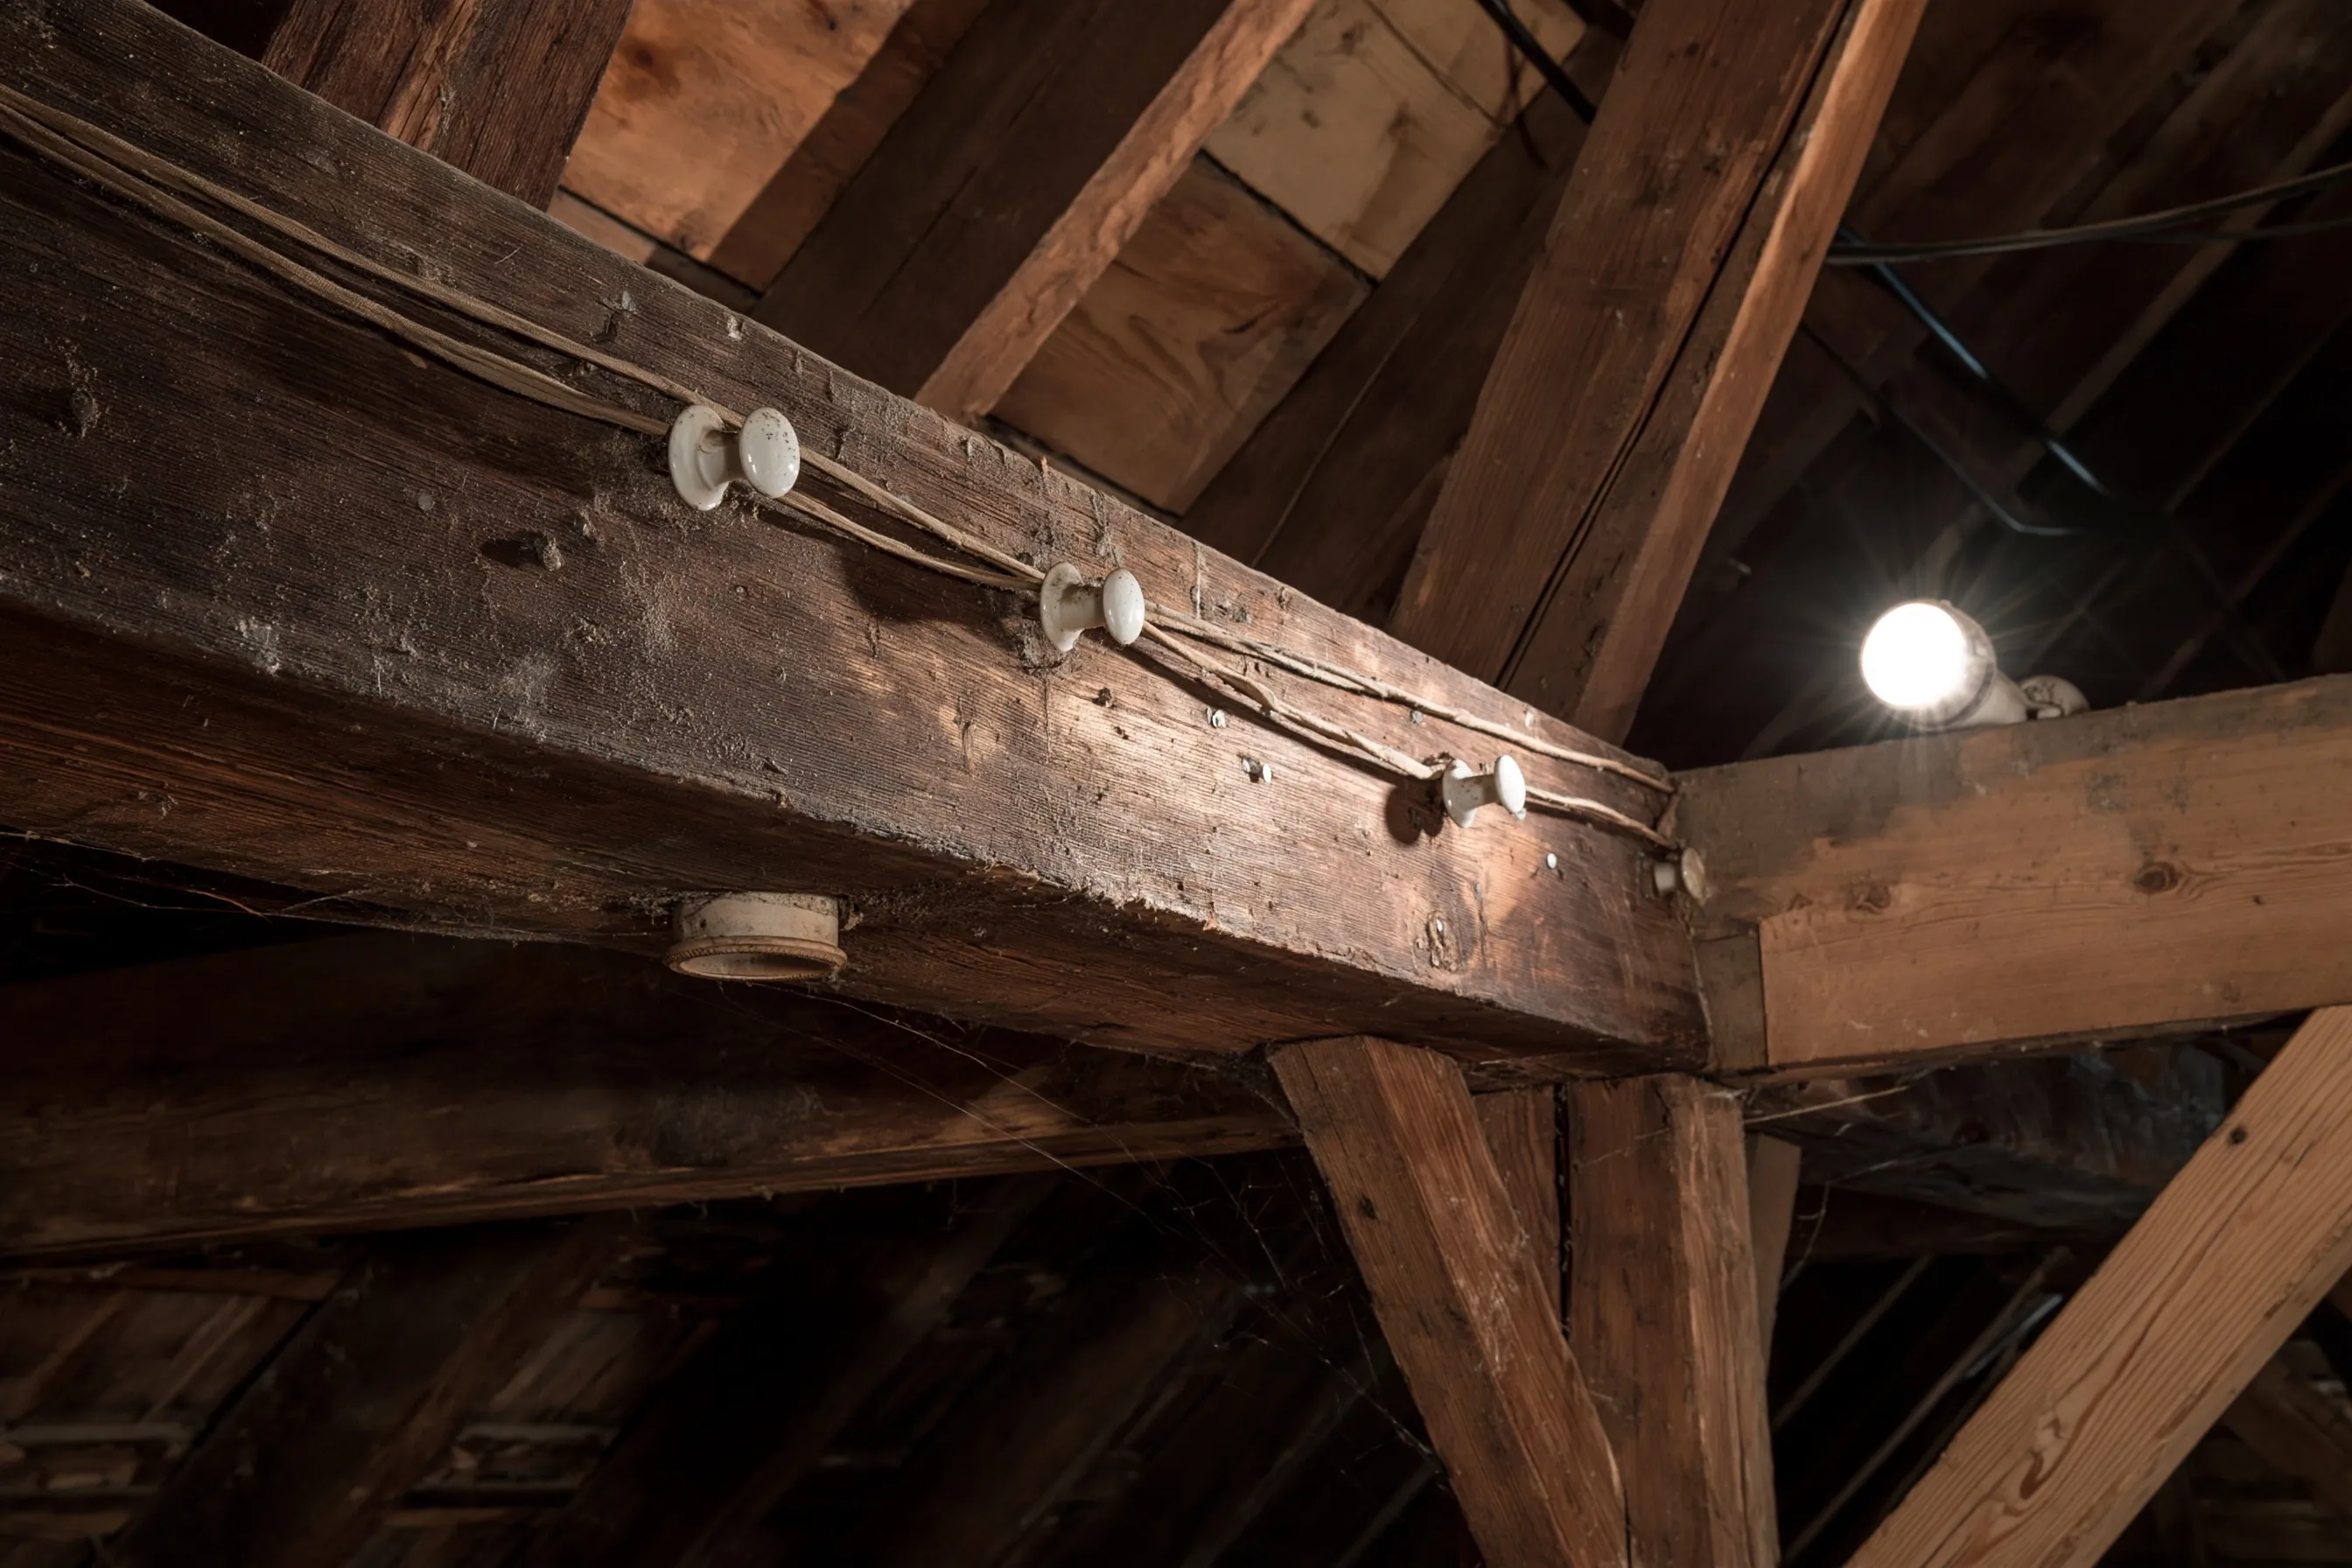
Knob-and-tube wires on white porcelain knobs running along dark attic beams, with a bare bulb lit nearby
Home
Early-1900s house in Everett, one and a half stories
Original request
Insulate the attic, and keep the old wiring up there if it is safe to leave
Found
Two live knob-and-tube circuits along the attic timbers, one old run already cut off at both ends, and one loose splice
Work
Electrician’s check of every attic run, a written survey, and the written certification the state rule requires once the splice is fixed, with copies for the owners and the insulation contractor
Timeline
About three hours in the attic, with the written survey a few days later
Estimated cost
$520

Scope of work

Every wire in the attic traced back to the panel, live and dead runs marked, the porcelain knobs, tubes and wire covering checked along their length, and a written survey that lists each circuit, its condition and what has to be fixed before insulation, then the written certification to the state once that is done. Fixing the splice and any rewiring are priced separately.

Project overview

In this example, the owners of an early-1900s Everett house want blown-in insulation in the attic. The insulation contractor has seen knob-and-tube on the attic timbers and will not start until an electrician has looked at it.

Washington allows loose or rolled insulation around old knob-and-tube only under set conditions, including an electrician’s survey and a written certification to the state that the wiring is in good condition, and never foam. Here the check finds two live circuits in good shape, one old run already cut off at both ends, and one loose splice. The survey says what is safe to leave, and the splice is fixed before any insulation goes in.

The goal

The goal is a clear written answer on the attic wiring before the insulation is booked, and only the one repair that is needed.

Process

  1. Before the visit The insulation contractor’s proposal shared, so the check covers the right area and material.
  2. In the attic Each run traced to its circuit, live runs tested, knobs, tubes and wire covering checked.
  3. A few days later Written survey sent, listing every circuit and the one repair needed first.
  4. Next The splice fixed on a separate visit and the certification sent to the state, then the insulation goes in.

Planning right

  • Ask the insulation contractor what material they plan to use. Foam is never allowed around knob-and-tube.
  • A survey that finds problems is still useful. It tells you exactly what to fix or replace.
  • Keep the survey and certification with the house papers. A buyer or a later electrician will want to see them.
  • If most attic circuits fail the check, replacing them while the attic is empty costs less than doing it later.

Get a free quoteMore about rewiring before attic insulation

Attic wiring replaced after it was found under old insulation

Example project

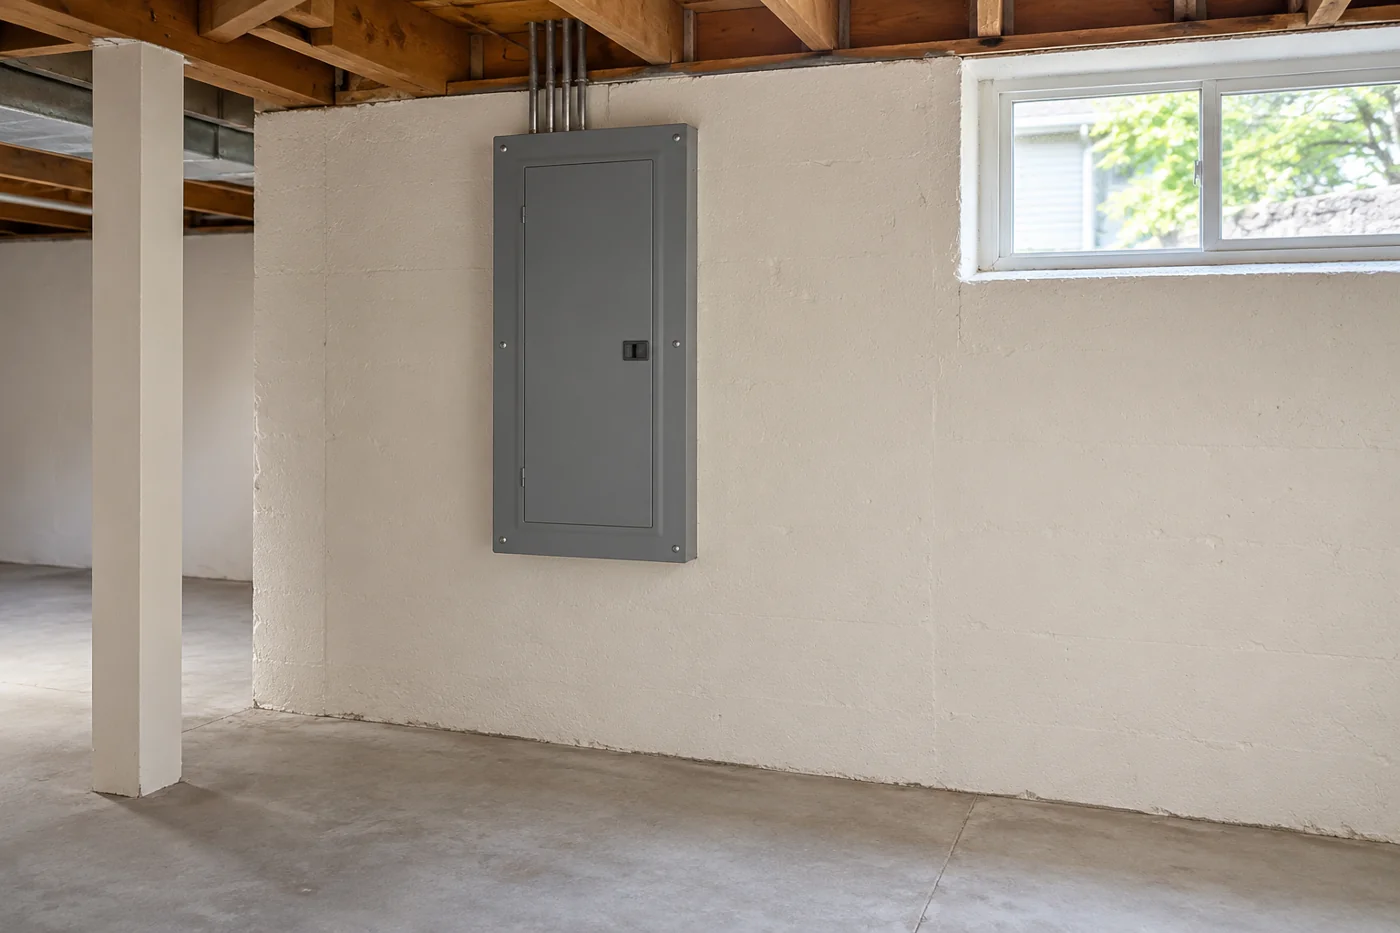
White-painted basement wall with a gray breaker panel, metal conduits rising into the joists and a small window
Home
1920s one-story house in Everett with a full basement, about 1,100 sq ft
Original request
Add attic insulation, which the insulation contractor will not do over the old wiring
Found
Three live knob-and-tube circuits for the ceiling lights, buried under loose fill an earlier owner blew in with no survey on record; the panel and outlets were redone from the basement years ago
Work
The three attic circuits replaced with grounded cable run up from the panel in the basement, and the old attic runs pulled out
Timeline
Old fill cleared by the insulation crew, four days of wiring, the inspection, then new insulation
Estimated cost
$6,900

Scope of work

The old fill cleared from the attic by the insulation contractor first, the three knob-and-tube circuits traced and disconnected, new grounded cable run from the panel up through the basement and an inside wall to the attic, then to each ceiling light and down to its switch, the old runs pulled out of the attic, and the City of Everett permit and inspection. Removing and replacing the insulation is priced by the insulation contractor.

Project overview

In this example, a 1920s Everett house is due for an attic insulation top-up. When the insulation contractor pulls back the old loose fill, there is live knob-and-tube underneath, buried by an earlier owner with no electrician’s survey on record. The panel and the outlets were redone from the basement years ago, but the ceiling lights and their switches still run through the attic on the old wire.

Under the Washington rule, insulation may only surround knob-and-tube that an electrician has checked and then certified to the state in writing. Knob-and-tube is meant to cool in open air, and wire that has been buried for years can be damaged where nobody can see it. So the old fill comes out, the three attic circuits are replaced, and the new insulation goes in only after the inspection.

The goal

The goal is an attic with no knob-and-tube left under the insulation, and new insulation that goes in after the inspection.

Process

  1. Before work Circuits traced, the permit bought, and the insulation crew booked to clear the old fill.
  2. Day one Old fill vacuumed out by the insulation crew; the old circuits disconnected at the panel.
  3. Days two and three New cable run up from the basement to the attic, then to each ceiling light and down to its switch.
  4. Day four Lights reconnected and tested, and the old runs pulled out of the attic.
  5. Then Inspection, then the new insulation is blown in.

Planning right

  • If loose fill already covers knob-and-tube, do not add more on top. Have an electrician look first.
  • Buried wire can be scorched or brittle in spots nobody can see. That is why it is replaced here rather than surveyed.
  • Book the insulation crew twice, once to clear the old fill and once to blow in the new, with the inspection in between.
  • Ask for a photo of each new run before the attic is filled. It saves time on any later job.

Get a free quoteMore about rewiring before attic insulation

Living and dining rooms rewired with the original lights put back

Example project

Gray Craftsman house, two stories, with tapered porch columns on round stone piers, lit windows, shrubs in front and a bay beyond
Home
1920s two-story Craftsman house in Everett, about 1,900 sq ft, lath and plaster throughout
Original request
Put back the original dining room light and four sconces, which an earlier owner took down and stored in the basement
Found
The living and dining rooms still on one knob-and-tube circuit, capped off at the old fixture spots; brittle cloth wire inside the stored fixtures; the rest of the house already rewired
Work
Two new grounded circuits run up from the basement, and the five original fixtures rewired with new sockets and wire and hung on new boxes
Timeline
Two days of cable, a day at the bench, a day hanging fixtures, then the inspection
Estimated cost
$7,400

Scope of work

The old circuit traced and disconnected, two new grounded circuits from the panel run up from the basement, through the back of the built-in buffet and into the living and dining room walls, new boxes at the old fixture spots, the dining room light and four sconces rewired with new sockets and wire and hung, new grounded outlets in both rooms, and the City of Everett permit and inspection. Patching any plaster that has to be opened is extra.

Project overview

In this example, the owners of a 1920s Craftsman in Everett find the original dining room light and four sconces boxed up in the basement, taken down by an earlier owner. They want them back on the walls beside the fireplace and the built-in buffet. The rest of the house was rewired years ago, but these two rooms still share one knob-and-tube circuit, capped off where the fixtures used to hang.

The job covers the fixtures as well as the wiring. Each one goes to the bench for new sockets and wire, because cloth wire that old cracks when it is bent. New cable comes up from the basement, and on the buffet wall it runs through the hollow back of the built-in cabinet, so that wall is not opened at all.

The goal

The goal is the original Craftsman lights back on the walls on new wiring, and no knob-and-tube left in the house.

Process

  1. First visit The fixtures looked over and the old circuit traced to everything it feeds.
  2. Days one and two New cable run up from the basement into both rooms, through the back of the buffet on the dining room side.
  3. Day three Fixtures rewired on the bench with new sockets and wire.
  4. Day four Fixtures hung on new boxes, outlets fitted and the old circuit cut off at the panel.
  5. Inspection The city inspector looks at the new runs in the basement and the boxes behind the fixtures.

Planning right

  • Show the electrician the old fixtures at the first visit. Each one is priced for what it needs.
  • New wiring in the wall does not fix brittle wire inside an old fixture. Ask for both.
  • Built-in cabinets often have a hollow back. Cable can run through it instead of through the plaster.
  • Keep the bulbs at or below the wattage marked on each old socket.

Get a free quoteMore about partial rewiring

A new circuit for a window air conditioner in an upstairs nursery

Example project

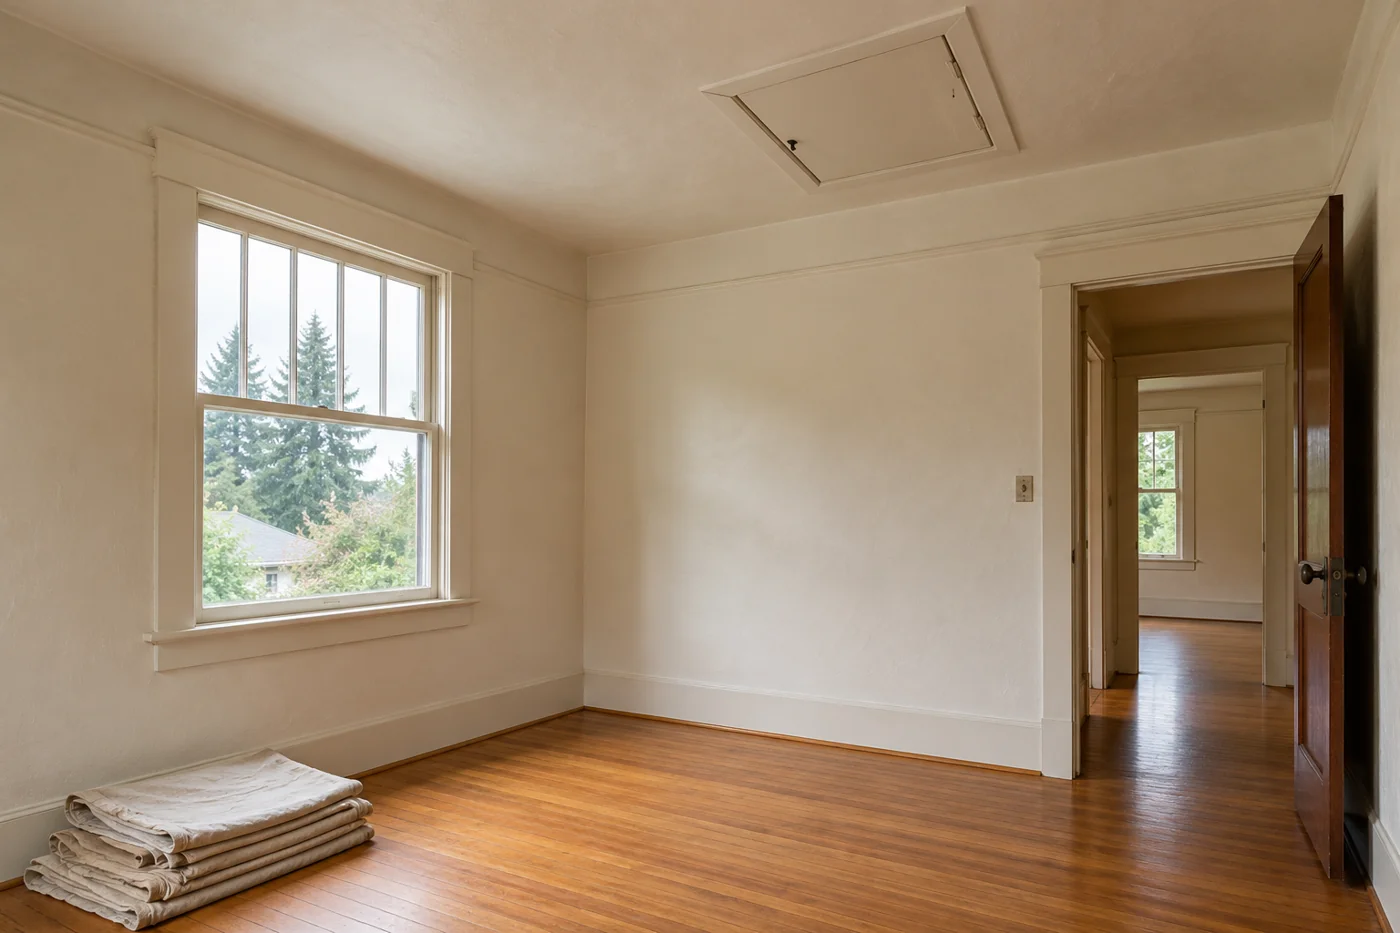
Upstairs bedroom with plaster walls, a wood floor, a hatch to the attic in the ceiling and drop cloths folded by the wall
Home
1920s house in Everett, one and a half stories, about 1,600 sq ft, plaster walls
Original request
A safe outlet for a window air conditioner in the upstairs nursery, the hottest room in summer
Found
The room’s two outlets on a knob-and-tube circuit shared with the next bedroom; balloon-framed outside walls open from the basement up
Work
One new circuit for an outlet under the window and a second for the room’s two outlets, both run up from the basement inside the outside wall
Timeline
Two days of work and an inspection
Estimated cost
$3,900

Scope of work

A grounded circuit from the panel to one outlet under the window, kept for the air conditioner, a second new grounded circuit for the room’s two outlets on the outside walls, both run up from the basement through the sill and the open wall bays, the nursery outlets disconnected from the old circuit, and the City of Everett permit and inspection. The next bedroom stays on the old circuit for now. Small gaps around the new boxes are left for the owners’ painter.

Project overview

In this example, the owners of a 1920s Everett house are getting the small upstairs bedroom ready as a nursery, and it is the hottest room in the house in summer. They want a window air conditioner, but the room’s two outlets are on a knob-and-tube circuit that also feeds the next bedroom, and that old wire should not carry an air conditioner for hours on a hot night.

The house is balloon framed, so the bays in the outside walls run unbroken from the basement up to the upper floor. New cable goes up from the panel through the sill and straight up inside the wall to the nursery, with no openings in the plaster beyond the boxes themselves. The attic is not touched.

The goal

The goal is a nursery that can be kept cool on its own grounded circuit, with a note of which rooms still have the old wiring.

Process

  1. Before work The old circuit traced, the route up the outside wall checked from the basement, and the permit bought.
  2. Day one Both new circuits run from the panel and pushed up the wall bays to the nursery.
  3. Day two Outlets fitted, the nursery taken off the old circuit and everything tested.
  4. Inspection Both new runs looked over in the basement, and each of the three boxes opened for the inspector.

Planning right

  • A window air conditioner wants its own circuit. On a shared old one it can trip the circuit on the hottest nights.
  • Never run an air conditioner on an extension cord. Ask for the outlet right under the window.
  • Many houses this age are balloon framed. Ask whether your outside walls are open from the basement up.
  • Write down which rooms are still on old wiring. The next bedroom can follow later.

Get a free quoteMore about partial rewiring

Bedrooms rewired after an outlet ran warm

Example project

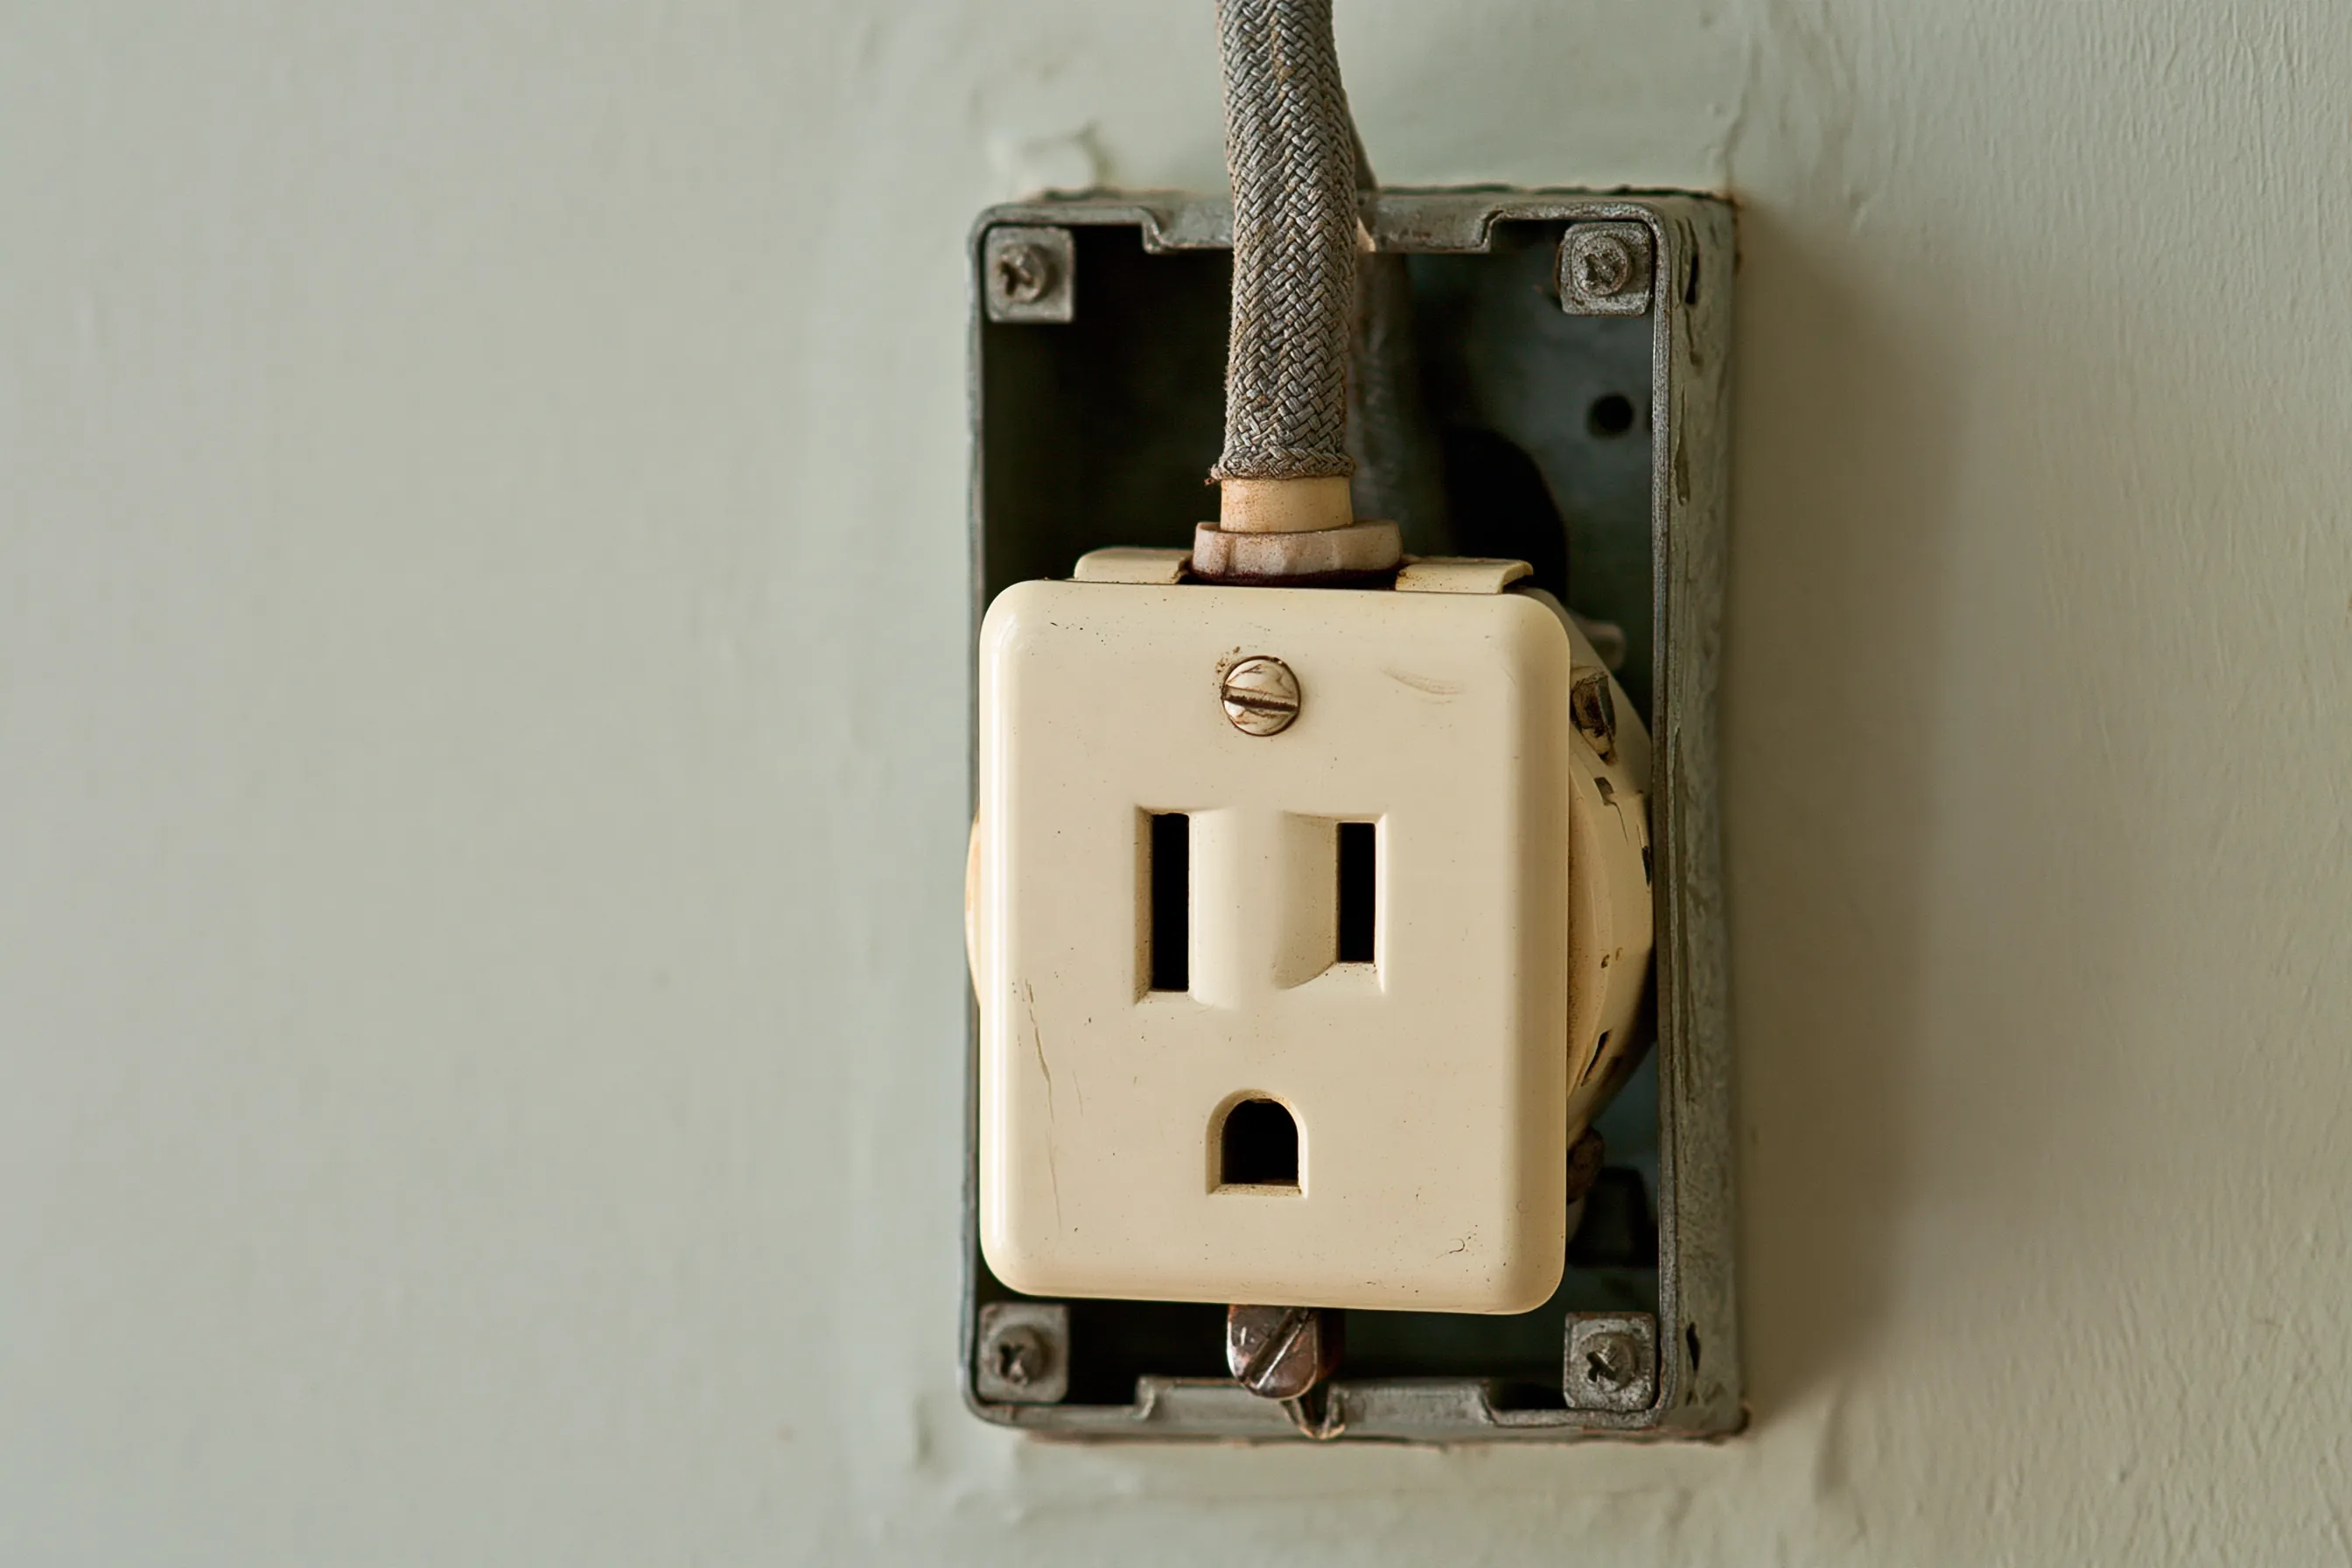
Old cream outlet pulled loose from its metal wall box, wired with braided, cloth-covered cable
Home
1950s single-story house in Mukilteo, over a crawlspace
Original request
Find out why a bedroom outlet felt warm, and fix the wiring behind it
Found
No knob-and-tube; brittle cloth-covered cable with no ground behind three-prong outlets, and a loose connection at the warm one
Work
The circuits for three bedrooms and the hall replaced with grounded cable from the crawlspace and the attic
Timeline
Three days of work, then the state inspection
Estimated cost
$7,900

Scope of work

The bedroom and hall circuits traced, new grounded cable from the panel run under the floor from the crawlspace and down from the attic, new boxes, outlets, switches and light connections in three bedrooms and the hall, the old circuits disconnected and the runs that can be reached pulled out, and the state permit and inspection. The rest of the house is not part of this price.

Project overview

In this example, the owners of a 1950s house in Mukilteo noticed that one bedroom outlet felt warm. Behind it, the cloth covering on the old cable has gone brittle, a connection is loose, and there is no ground wire, even though the outlets have three holes.

This is not knob-and-tube. It is the cloth-covered cable most houses of this age were built with, and it is replaced the same way. The same two circuits feed all three bedrooms and the hall, so those rooms are done together. Mukilteo electrical permits come from the state, and the contractor buys it.

The goal

The goal is three bedrooms and the hall on grounded circuits, with the warm outlet and the cable behind it gone.

Process

  1. First visit The warm outlet made safe, and the circuits behind it traced to every room they feed.
  2. Days one and two New cable run from the crawlspace and the attic into the bedroom and hall walls.
  3. Day three Devices wired up and both old circuits cut off at the panel.
  4. Inspection State inspection of the new cable at the open boxes.

Planning right

  • A warm outlet or switch plate is a reason to call an electrician the same week.
  • Three holes do not mean a ground. A simple tester shows whether an outlet is really grounded.
  • Ask for the circuits behind the problem to be traced. One bad outlet often points to a whole run.
  • Keep space heaters off the old cable until it is replaced.

Get a free quoteMore about partial rewiring

New kitchen wiring while the walls are open

Example project

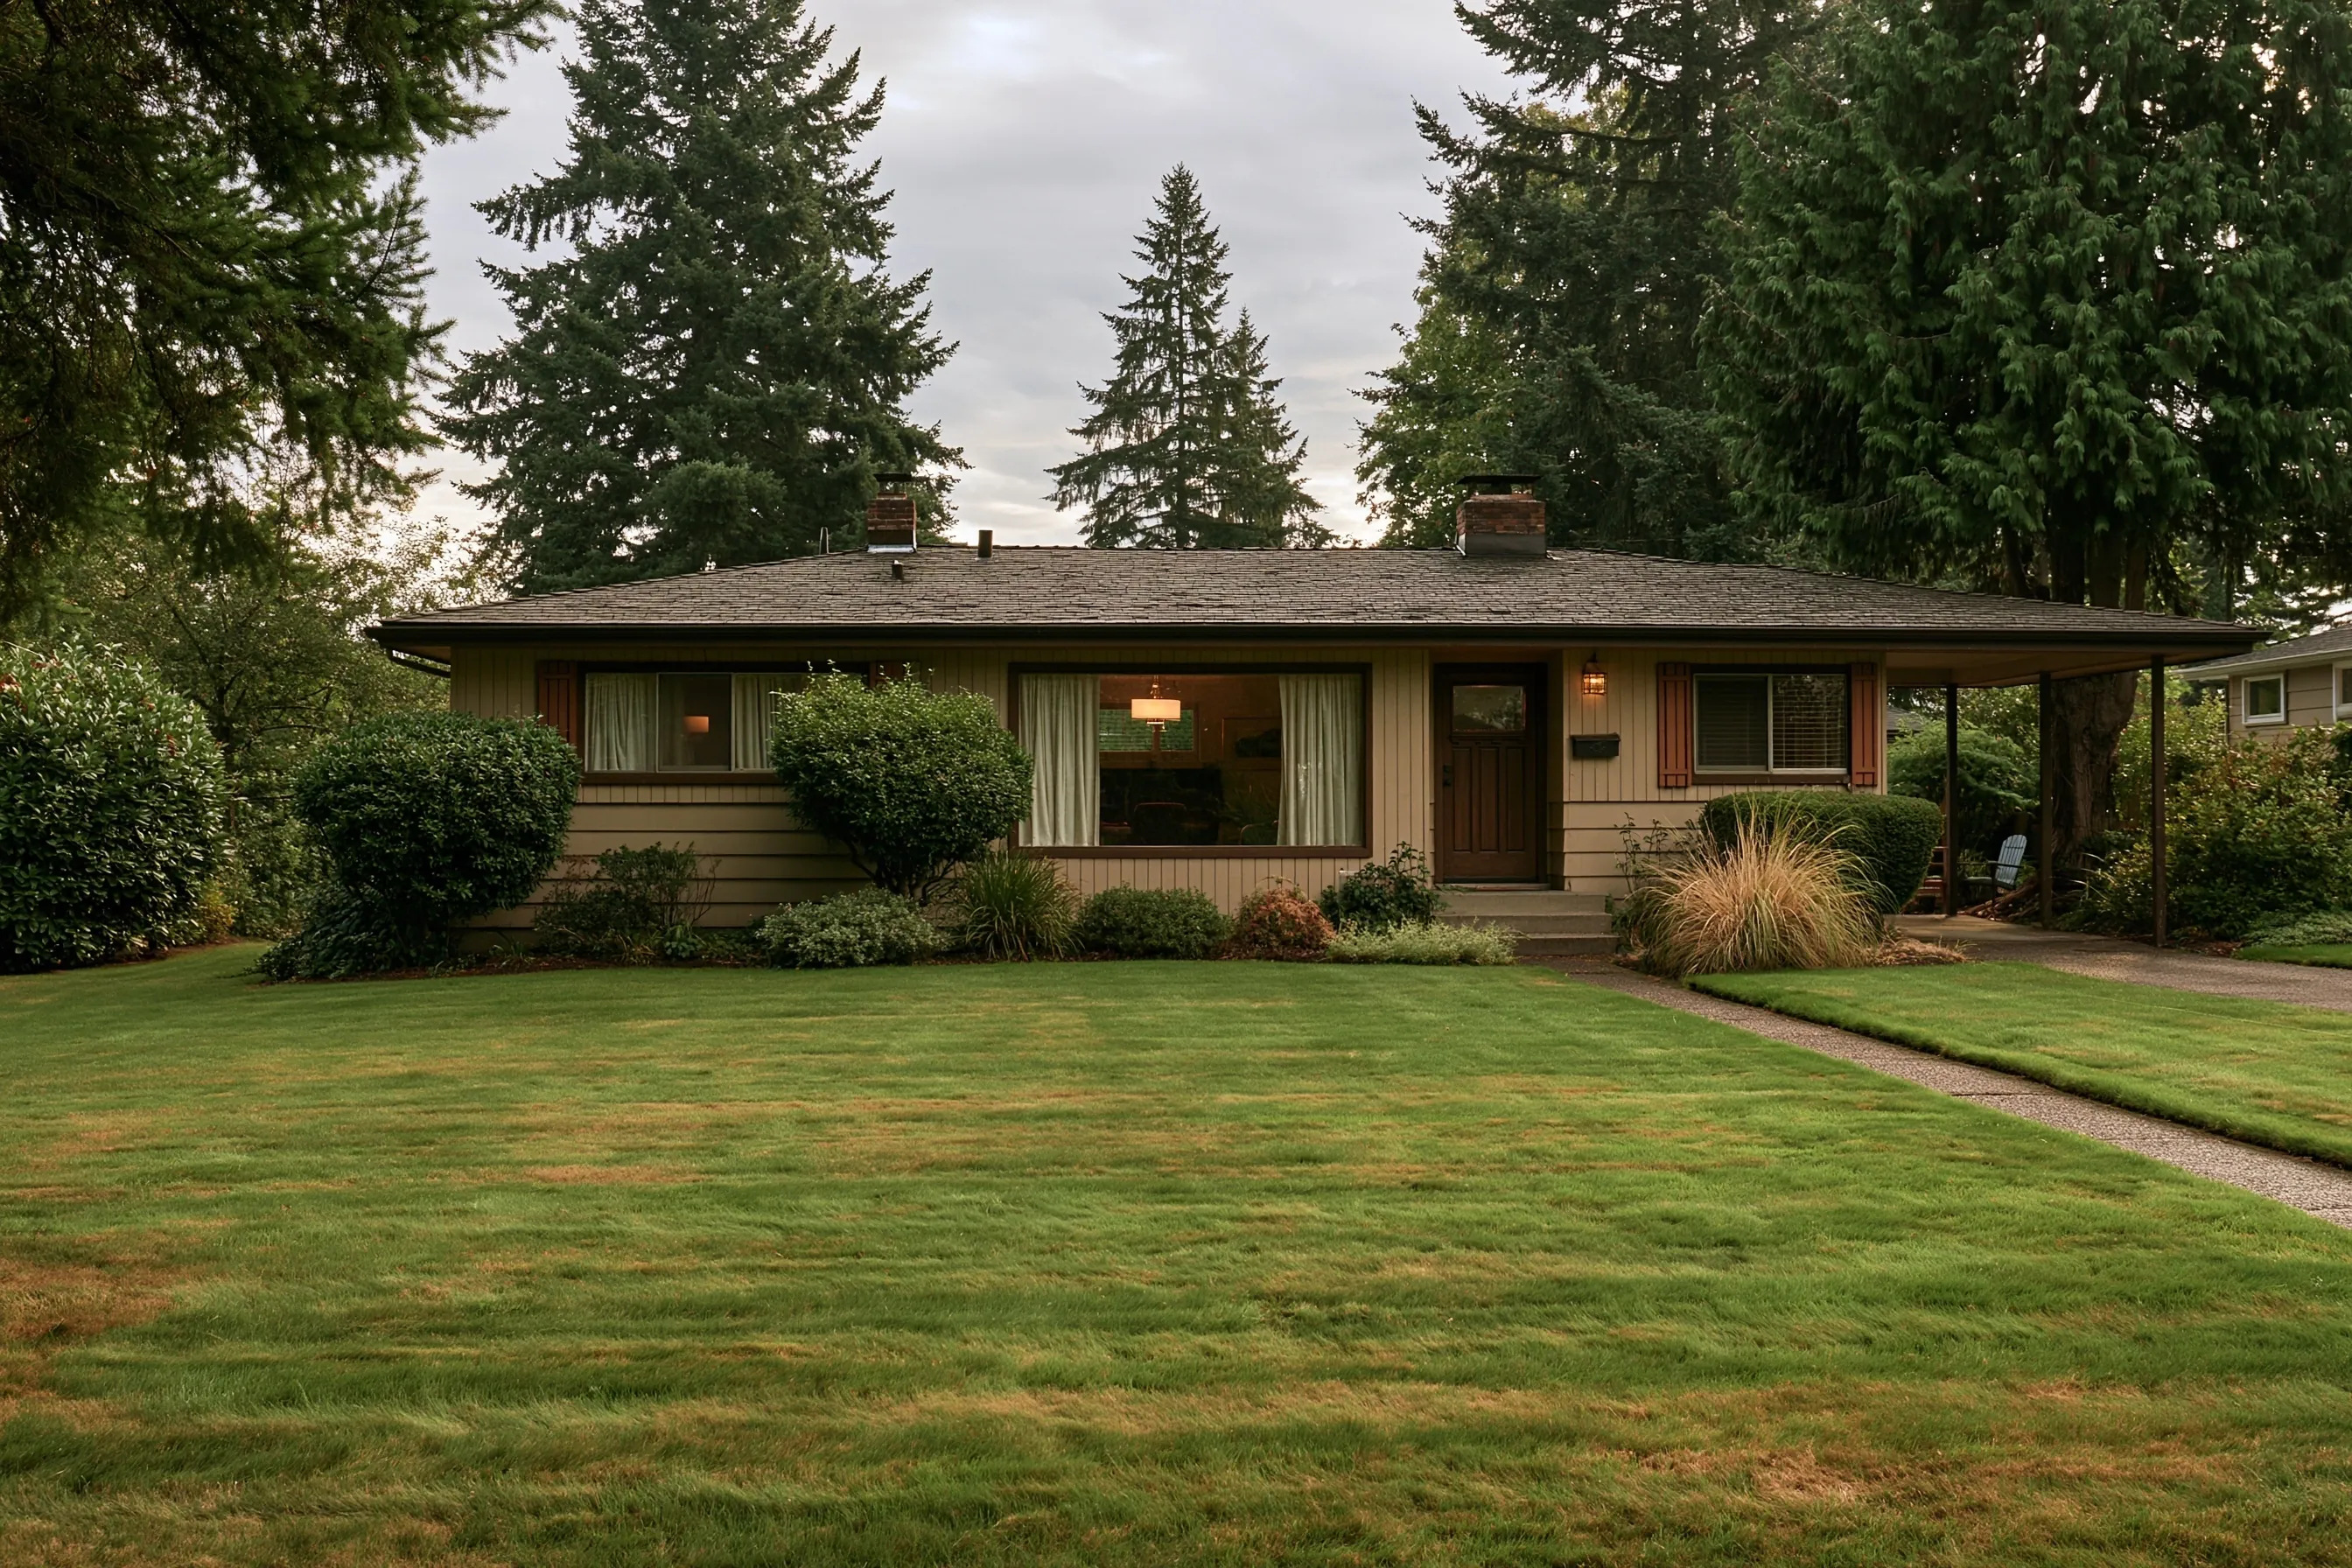
Low single-story 1950s house with a wide picture window, a carport on one side and a large lawn in front
Home
1950s single-story house in Marysville with a carport
Original request
Rewire the kitchen during a remodel, before the new drywall goes up
Found
Original cloth-covered cable with no ground, and one outlet circuit shared by the kitchen and the dining room
Work
Old kitchen cable replaced, with new circuits for the counters, dishwasher, disposal and microwave, and a connection for the range hood
Timeline
Two days of rough wiring, the inspection, then one day to finish after the cabinets are in
Estimated cost
$6,400

Scope of work

The old kitchen wiring disconnected and pulled out of the open walls, two new counter circuits with protected outlets, separate circuits for the dishwasher, disposal and microwave, a connection for the range hood, new boxes placed to the cabinet plan, and the City of Marysville electrical permit and inspection. Light fixtures, appliances, drywall and finish work are part of the remodel, not this price.

Project overview

In this example, the owners of a 1950s Marysville house are remodeling the kitchen, and the old walls are open down to the studs. Behind the old drywall is the cable the house was built with, cloth-covered and with no ground, and one outlet circuit serves both the kitchen and the dining room.

With the walls open, new cable goes in quickly and nothing has to be fished. The counters get their own circuits, the dishwasher, disposal and microwave get theirs, and every box is placed to the cabinet drawings. Marysville issues its own electrical permits, and the inspection comes before the drywall.

The goal

The goal is a remodeled kitchen on its own grounded circuits, inspected before the walls are closed.

Process

  1. Before work Cabinet drawings and appliance list shared, and the permit bought.
  2. Days one and two Old cable pulled out and new circuits run while the walls are open.
  3. Inspection The city inspector checks the rough wiring before the drywall goes up.
  4. After the cabinets Outlets, switches and appliance connections finished and tested.

Planning right

  • Give the electrician the final cabinet drawings. An outlet in the wrong spot is hard to move later.
  • Ask whether circuits that pass through the kitchen also feed other rooms. They are cheapest to replace now.
  • Leave a day in the schedule between the inspection and the drywall crew.
  • Plan under-cabinet lights now, even if they come later.

Get a free quoteMore about rewiring during a remodel

Old wiring replaced before a basement is finished

Example project

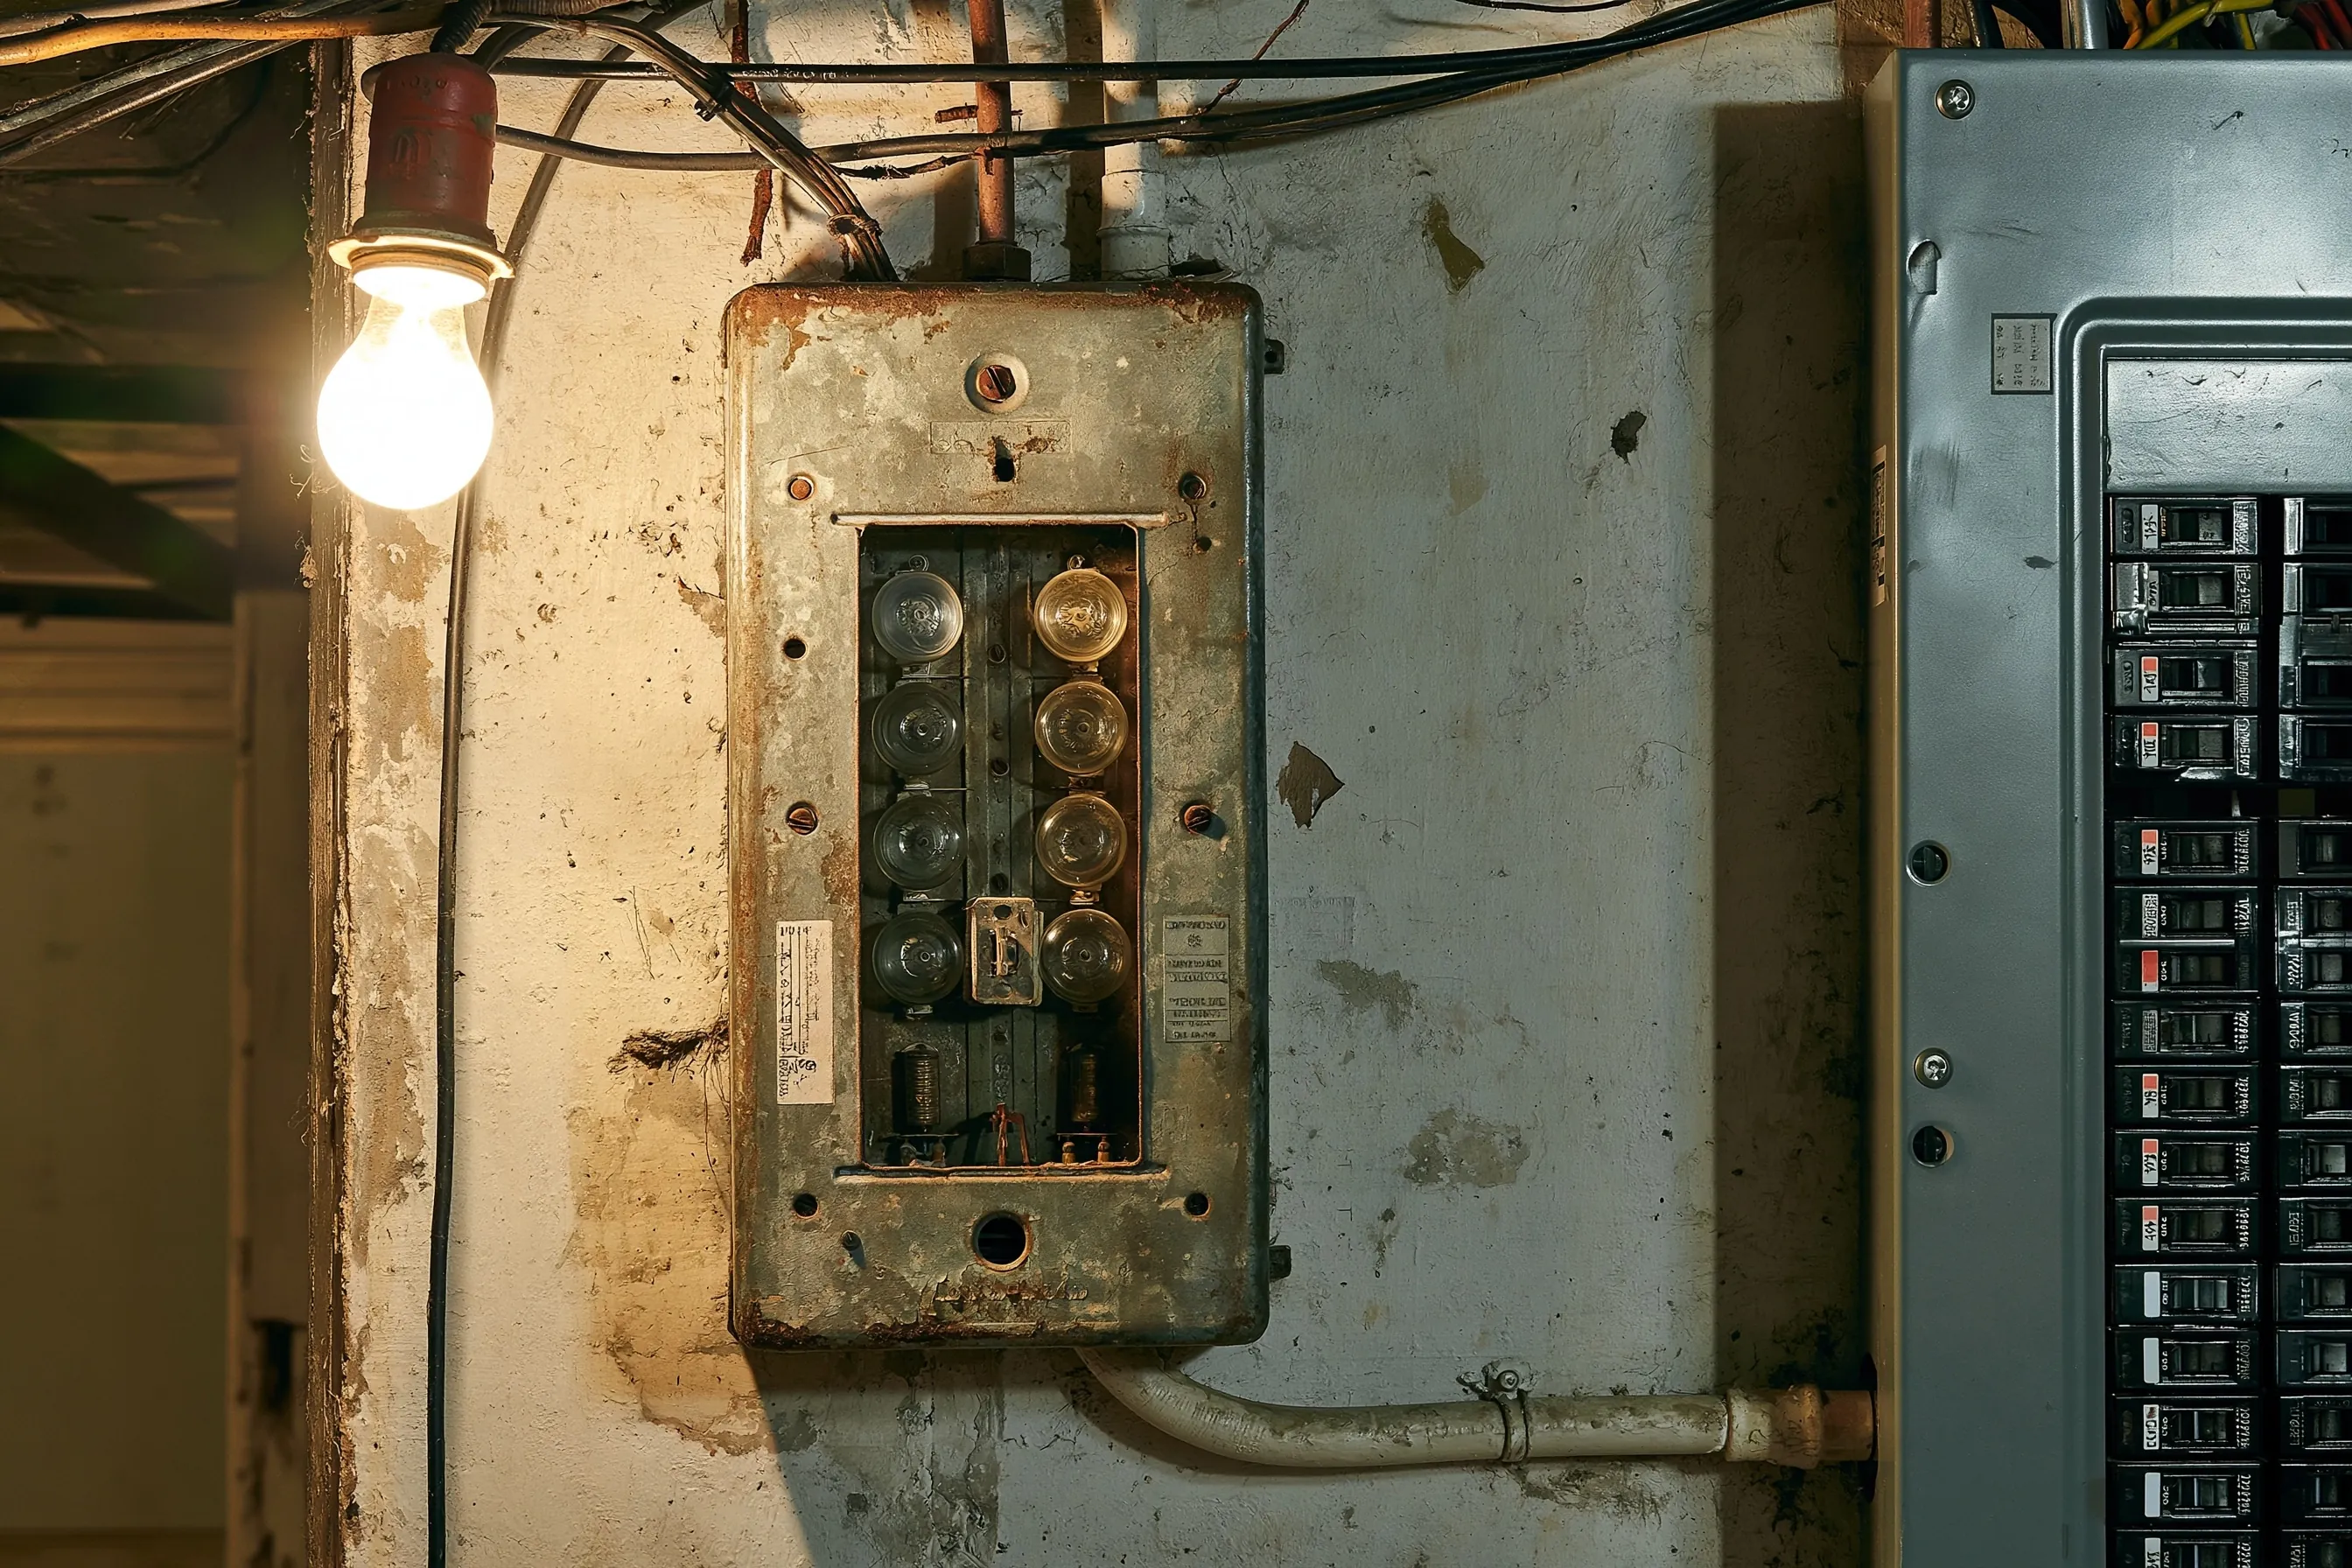
Corroded fuse box still holding its screw-in fuses, mounted on a stained wall under a bare bulb, with a later breaker panel at its side
Home
1930s house in Snohomish with a basement
Original request
Finish the basement as a family room and laundry, with no old wiring left above the new ceiling
Found
Knob-and-tube along the basement joists for the lights and laundry, still fed from the old fuse box beside the breaker panel
Work
Basement and laundry circuits replaced and added, the old runs pulled from the joists, the empty fuse box taken out
Timeline
Four days of wiring, the state rough-in approval, the city framing inspection, then drywall
Estimated cost
$10,800

Scope of work

The old basement circuits traced and disconnected, the knob-and-tube pulled off the joists, new grounded circuits for the family room, laundry and stair lights landed in spare spaces in the existing breaker panel, the fuse box taken out once nothing is left on it, and the state electrical permit and inspection. Framing, insulation, drywall and the city building permit belong to the basement remodel.

Project overview

In this example, a family in a 1930s Snohomish house is turning the basement into a family room with a laundry corner. The basement lights and laundry still run on knob-and-tube strung along the joists, fed from an old fuse box that sits beside a newer breaker panel.

Once a ceiling goes up, those runs would be buried. So the old circuits come out while the joists are bare, and the family room, laundry and stair get new grounded circuits from spare spaces in the breaker panel. With nothing left on it, the fuse box comes off the wall. In Snohomish the state approves the rough wiring before the city framing inspection, so both go into the remodel schedule.

The goal

The goal is a finished basement with no knob-and-tube above its ceiling and no fuse box left in the house.

Process

  1. Before work Old circuits traced from the fuse box, outlet and light positions marked on the framing plan.
  2. Days one to three Old runs disconnected and pulled down, new circuits run along the joists and framing.
  3. Day four Circuits landed in the breaker panel and the empty fuse box taken out.
  4. Inspections State rough-in approval, then the city framing inspection.
  5. After drywall Outlets, switches and lights fitted and tested.

Planning right

  • Ask what else the old fuse box feeds before work starts. In this example it feeds only the basement and laundry.
  • Put the laundry on its own circuits. Washers and dryers need them.
  • Mark outlet spots on the framing before the electrician arrives. Furniture plans decide them.
  • Keep the inspection order in the remodel schedule. The drywall waits for both approvals.

Get a free quoteMore about rewiring during a remodel

Request a free knob and tube quote

Tell us roughly when the house was built, which rooms still have old wiring, whether insulation or a remodel is planned and the street address, which decides who issues the permit. We'll get back to you soon with an estimate or any questions we have. Estimates are free and there's no obligation.

Call (425) 645-4346